Soft, Chewy and Delicious… For the Hippie in All of Us!
My love for this high-energy food was initially kindled during my high school years when my appetite was bottomless but my wallet, alas, it was empty. As a lazy, job-less teen with a growing boy’s hunger, I had to get creative with my lunchtime choices and my midday meal would almost always culminate with 5 or 6 delicious chewy granola bars!
Granola bars were also a staple source of nourishment throughout college, and even now, they remain my favorite snack (barring any ten-pound bars of chocolate that cross my path). If I’m in a pinch (traveling, working late, out of propane for the grill), granola bars are even a reasonable dinner replacement item.
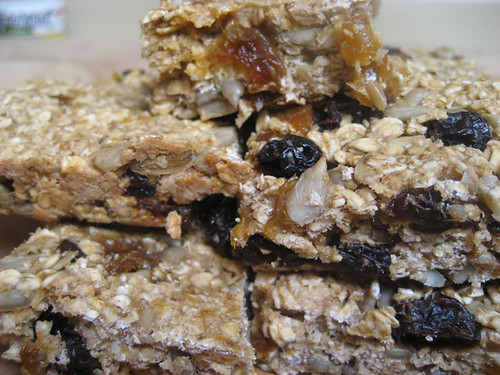
My dad introduced me to his version of a granola bar a few years ago and I was immediately hooked. His bars were wholesome, filling, perfectly sweetened and perfectly delicious. Although I used to identify granola bars with shiny containers, uniform sizes and (more often than not) a chocolate coating, after being exposed to the homemade variety, I just can’t eat any other kind.
The next time you take a trip, play a sport or just want a tasty, satisfying snack, try homemade granola bars. They are easy to make, easier to eat, and with all the great ingredients, they have got to be reasonably healthful.
Dad’s Granola Bars
2 cups of quick cooking oats
¼ cup raisins
¼ cup golden raisins
¼ cup sunflower seeds
½ cup mashed banana (about 1.5-2 large banans)
2 egg whites
¼ cup brown sugar
¼ cup honey
¼ teaspoon salt
My love for this high-energy food was initially kindled during my high school years when my appetite was bottomless but my wallet, alas, it was empty. As a lazy, job-less teen with a growing boy’s hunger, I had to get creative with my lunchtime choices and my midday meal would almost always culminate with 5 or 6 delicious chewy granola bars!
Granola bars were also a staple source of nourishment throughout college, and even now, they remain my favorite snack (barring any ten-pound bars of chocolate that cross my path). If I’m in a pinch (traveling, working late, out of propane for the grill), granola bars are even a reasonable dinner replacement item.
My dad introduced me to his version of a granola bar a few years ago and I was immediately hooked. His bars were wholesome, filling, perfectly sweetened and perfectly delicious. Although I used to identify granola bars with shiny containers, uniform sizes and (more often than not) a chocolate coating, after being exposed to the homemade variety, I just can’t eat any other kind.
The next time you take a trip, play a sport or just want a tasty, satisfying snack, try homemade granola bars. They are easy to make, easier to eat, and with all the great ingredients, they have got to be reasonably healthful.
Dad’s Granola Bars
2 cups of quick cooking oats
¼ cup raisins
¼ cup golden raisins
¼ cup sunflower seeds
½ cup mashed banana (about 1.5-2 large banans)
2 egg whites
¼ cup brown sugar
¼ cup honey
¼ teaspoon salt
1/4 teaspoon cinnamon
1 teaspoon vanilla
Method
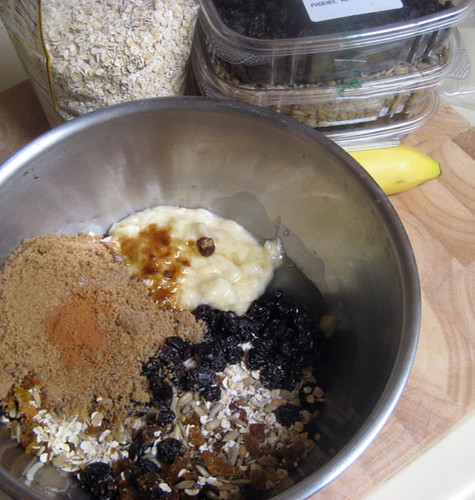
This might actually be the easiest recipe I know. Begin by preheating your oven to 325 degrees. Then combine all the ingredients in a bowl and mix together with a spoon or your hands until everything is evenly distributed and you are left with something that resembles oatmeal cookie batter.
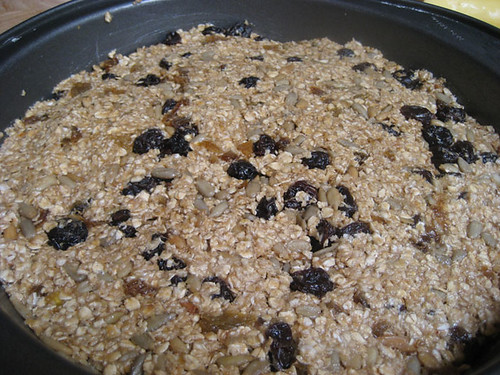
Place the batter into a lightly greased or nonstick sprayed 9-inch square cake pan and pat it down until it fills the pan uniformly and smoothly.
Place the pan into the oven and cook at 325 degrees for 20-25 minutes. If it starts to brown around the edges, be sure to take it out.
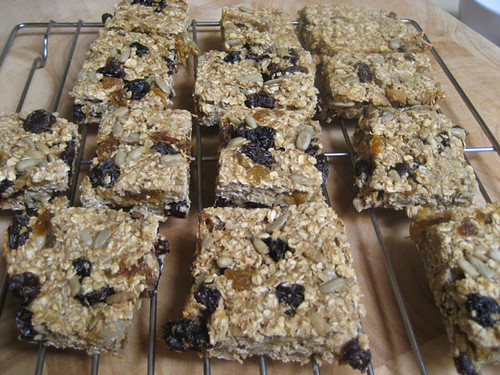
Allow the granola to cool, remove it from the pan and cut it into squares.
This recipe really is so easy and delicious that after you make it once, I am sure that you, much like me, will have found your new favorite snack. Enjoy!

1 teaspoon vanilla
Method
This might actually be the easiest recipe I know. Begin by preheating your oven to 325 degrees. Then combine all the ingredients in a bowl and mix together with a spoon or your hands until everything is evenly distributed and you are left with something that resembles oatmeal cookie batter.
Place the batter into a lightly greased or nonstick sprayed 9-inch square cake pan and pat it down until it fills the pan uniformly and smoothly.
Place the pan into the oven and cook at 325 degrees for 20-25 minutes. If it starts to brown around the edges, be sure to take it out.
Allow the granola to cool, remove it from the pan and cut it into squares.
This recipe really is so easy and delicious that after you make it once, I am sure that you, much like me, will have found your new favorite snack. Enjoy!