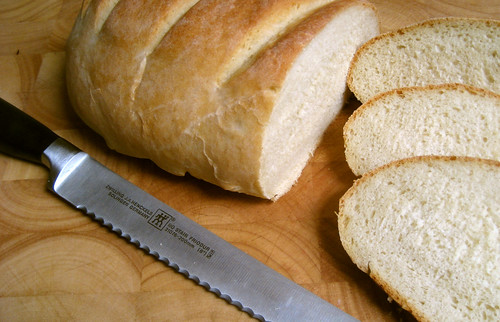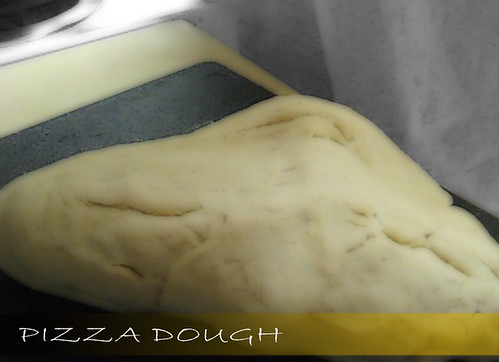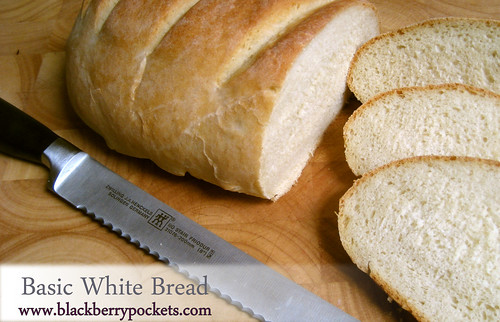
Warm homemade bread is one of my favorite comfort foods. This recipe produces a white bread that is soft, a little crusty, slightly dense and serves as the perfect medium for sopping up that last bit of soup or pasta sauce.
Recipe
3 C flour
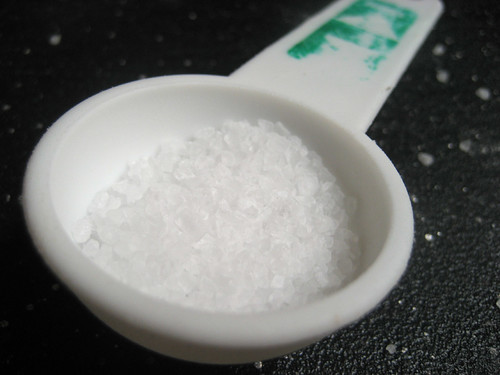
1.5 tsp salt
1 and 1/8th C warm water
2 tsp yeast
1tsp honey
1 tsp olive oil
Method
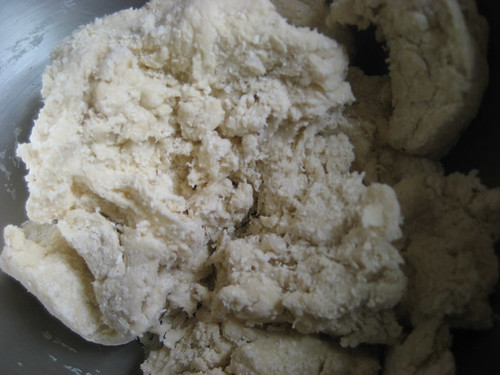
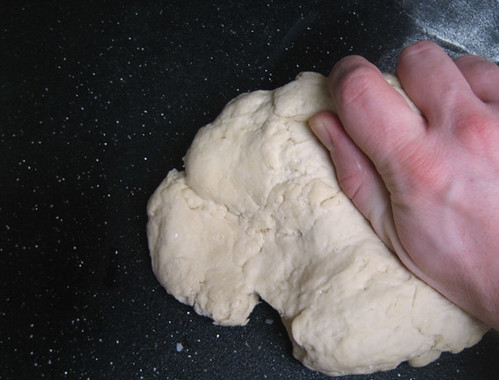
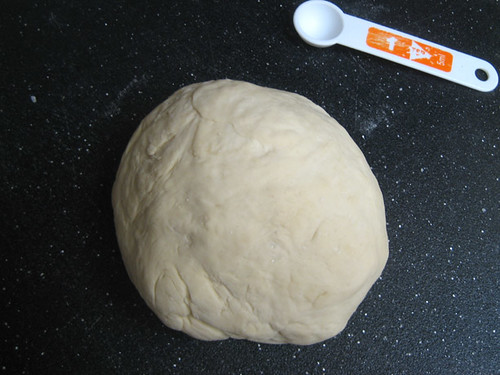
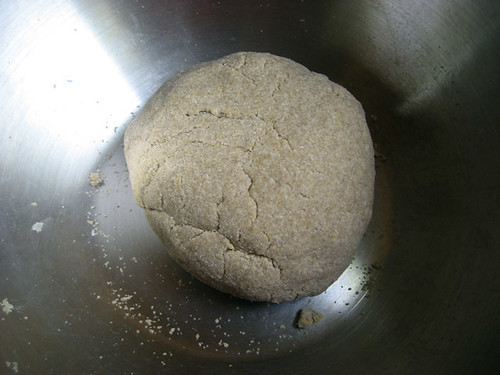
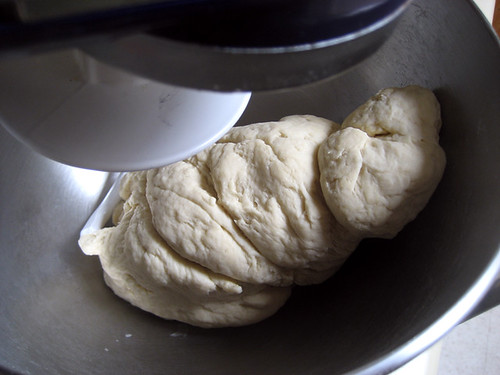
Add the yeast and honey to the warm water and allow it to sit for 5 minutes. Mix together flour and salt in the bowl of a stand mixer. Attach the dough hook to the mixer and add the yeast solution to the flour. Mix on low for a couple of minutes and check to see if all the ingredients have incorporated smoothly. You may need to add a teaspoon of water or flour if the dough is either too wet or too dry. Mine came out just right! Knead the dough for another 5 minutes.
Shape the dough into a ball and add the oil to a bowl (I just used my stand mixer bowl because I have two), making sure to roll the dough around in the oil until it is lightly coated.
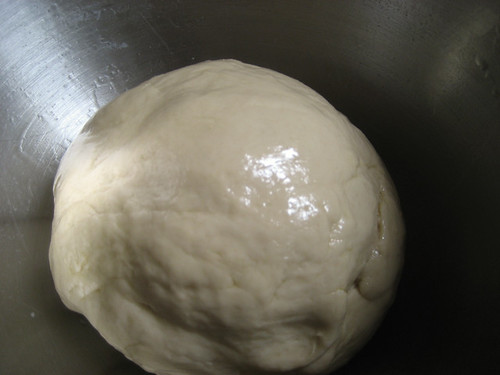
Cover the bowl with plastic wrap, or use a handy mixer bowl lid, and let the dough rest for an hour and a half, pat it down and let it rise for another hour and a half.

Remove the dough from the bowl, shape it into a loaf and place it on a floured bread peal or on a sheet of aluminum foil. Place a damp paper towel over the surface of the dough and let it rise for another 40 minutes. While the dough is resting, preheat your oven to 450 degrees F.
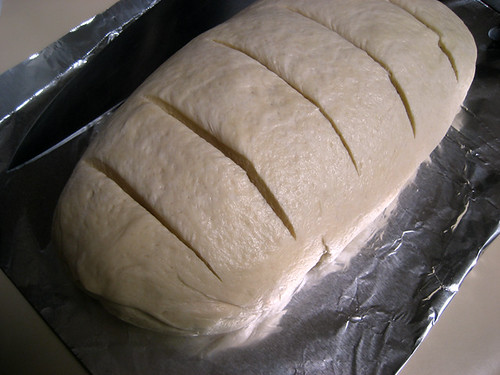
After the dough has rested and the oven has come to temperature, put a cup of water into a 9” brownie pan, place the pan in the bottom of the oven and wait 5 minutes. Now, cut four or five thin vertical slices along the dough’s surface. These cuts will allow the dough to expand in the oven without blowing out it sides. Place the loaf in the oven and bake for 30 minutes. Keep an eye on the bread after 20 minutes and if it looks like it is browning too fast, you can place a tent of aluminum foil over the loaf and this will allow it to cook evenly without burning.
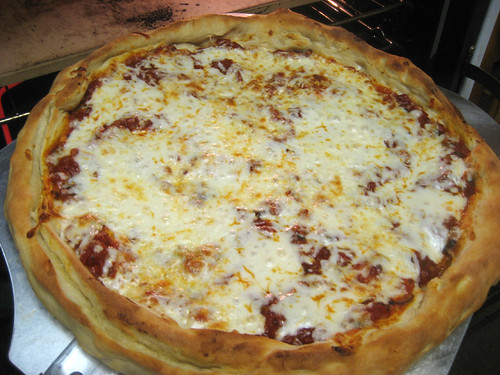
Voila! Nice, crusty white bread for sandwiches and toast.