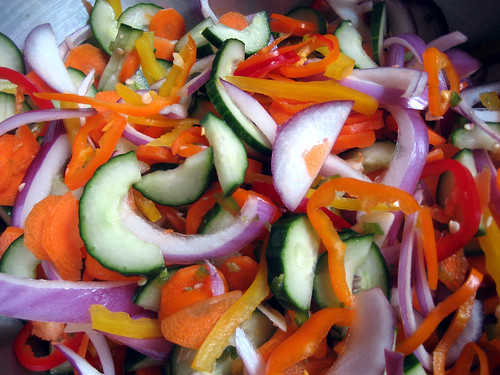
I love homemade pickles but rarely have the patience to wait the full amount of time required for complete pickling. I’ve found that things like thinly sliced cucumbers, sugar snap peas, and bell peppers actually pickle fairly fast and offer a quick fix to my cravings for tangy, vinegary delights.
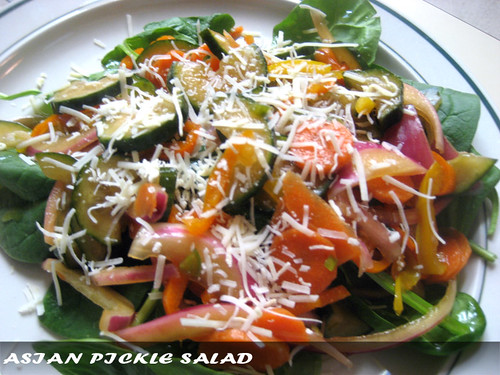
Quickly pickling thinly sliced vegetables offers instant gratification and my Asian pickle salad is a refreshing treat on a warm summer night.
Spicy Asian Pickle Salad Recipe
Pickling Liquid
¾ Cup Rice Wine Vinegar
¼ Cup Soy Sauce
3 Tablespoons Sugar
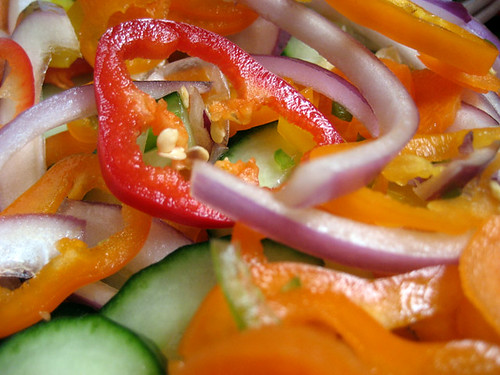
Veg
1 large shallot sliced thin
2 Carrots, sliced thin
1 English cucumber, seeded, split in two and sliced into ¼” half circles
5 mini sweet peppers, sliced into 1/8” rounds
1 jalapeño finely diced
Method
Combine vinegar, soy sauce and sugar into a small sauce pot and bring to a boil. Meanwhile, combine all of the chopped veggies into a large metal or glass (heat resistant) bowl. When the vinegar solution reaches a boil, reduce the heat until it is lightly simmering and then pour the contents over the sliced veggies.
Cover the veggies in the vinegar solution with plastic wrap and place in the refrigerators for 3 hours. That’s it, you now have a delightfully spicy pickle salad that is great on its own or can be combined with some baby spinach and tossed with a little olive oil, salt and pepper. Yum!
Quickly pickling thinly sliced vegetables offers instant gratification and my Asian pickle salad is a refreshing treat on a warm summer night.
Spicy Asian Pickle Salad Recipe
Pickling Liquid
¾ Cup Rice Wine Vinegar
¼ Cup Soy Sauce
3 Tablespoons Sugar
Veg
1 large shallot sliced thin
2 Carrots, sliced thin
1 English cucumber, seeded, split in two and sliced into ¼” half circles
5 mini sweet peppers, sliced into 1/8” rounds
1 jalapeño finely diced
Method
Combine vinegar, soy sauce and sugar into a small sauce pot and bring to a boil. Meanwhile, combine all of the chopped veggies into a large metal or glass (heat resistant) bowl. When the vinegar solution reaches a boil, reduce the heat until it is lightly simmering and then pour the contents over the sliced veggies.
Cover the veggies in the vinegar solution with plastic wrap and place in the refrigerators for 3 hours. That’s it, you now have a delightfully spicy pickle salad that is great on its own or can be combined with some baby spinach and tossed with a little olive oil, salt and pepper. Yum!